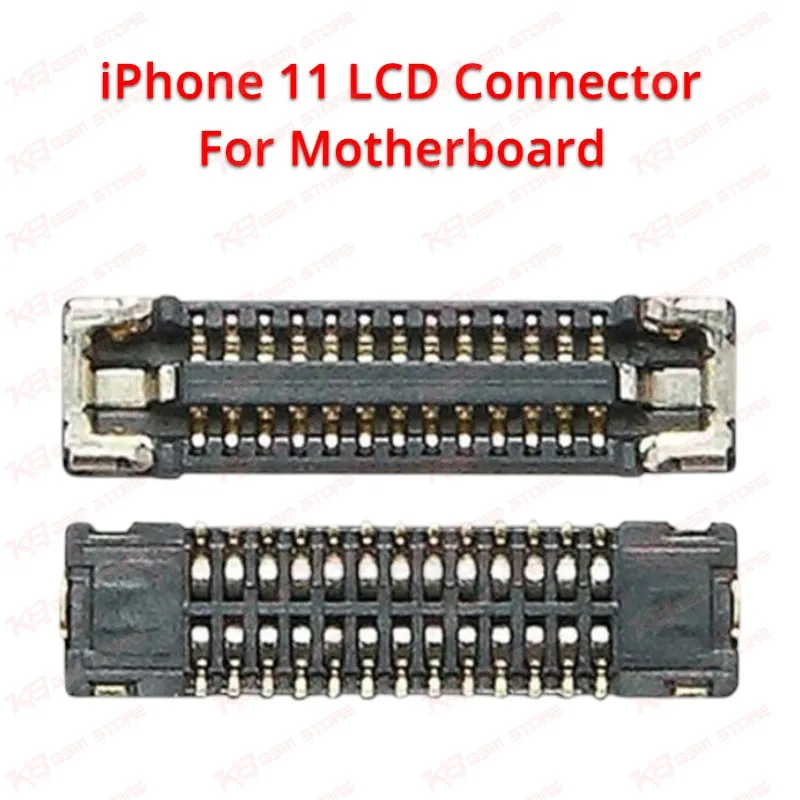
The iPhone 11 LCD FPC connector, marked J8000 on the schematic and built with a 26-pin layout, sits directly on the motherboard and forms the physical link between the display flex cable and the logic board circuitry. When a phone comes in with a dead screen but the battery still charges and the device vibrates or makes sound on boot, the display connector is one of the first things you check on the bench, especially if the customer mentions the phone was dropped or recently had a screen replacement. A cracked pin, a connector that has lifted slightly off its pads, or corrosion from liquid exposure can all break this link and leave you with a completely blank screen, a black screen with backlight only, vertical or horizontal lines, or intermittent flickering that comes and goes when you flex the board. Swapping a known-good display onto the board and still getting no image is usually the clue that points you toward this connector rather than the LCD itself. Because this connector is soldered directly to the board, replacing it is a reballing-level repair rather than a simple plug-and-play swap, so you will want a hot air rework station, flux, a fine-tip soldering iron, and ideally a microscope to confirm each pin is seated and making clean contact before you reassemble the phone. Start by removing the old connector with controlled hot air at the correct temperature profile, clean the pads thoroughly with flux and solder wick to remove old solder without lifting the pads, then align the new J8000 connector precisely using the surrounding components as reference points before reflowing it into place. Continuity testing with a multimeter afterward, checking pin-to-pin against a known-good board diagram, helps confirm you have not bridged any pins during the reflow, which is one of the most common mistakes technicians make on connectors this small. This connector is a regular callout on Pakistani repair benches where iPhone 11 volume is high and customers often bring in units after a failed DIY screen swap or after a drop that cracked the display cable at the connector point rather than the panel itself, so having this part in stock saves you from turning away a repair or waiting days for a full logic board. It also comes up on boards affected by "no display" issues after liquid damage, where corrosion under the connector breaks continuity even though the rest of the board tests functional. Fitting this component correctly restores full LCD signal transfer, backlight control, and touch data pathway integrity between the screen and the logic board, which means the phone should power on with a clear, responsive display exactly as it did before the fault. For technicians running a busy GSM repair shop, keeping a few of these connectors on hand alongside your other iPhone 11 board-level parts, such as the charging port connector, front camera FPC, and battery connector, rounds out your motherboard repair kit and reduces the number of boards you have to send out for advanced micro-soldering work elsewhere. Handle the connector with anti-static precautions and store it in its original packaging until use, since the fine pin pitch is sensitive to bending or contamination before it is soldered down. Pairing this part with a proper reflow profile and a steady hand under magnification gives you a clean, lasting repair rather than a temporary fix that fails again after a few weeks of normal use.